


Method
Plant Plugs
Plant plugs are young plants in their early stage of development. We really like using plugs because they are small and can be placed all around the Tevaplanter surface to give you a beautiful result right away - and look as if they've been there all along.
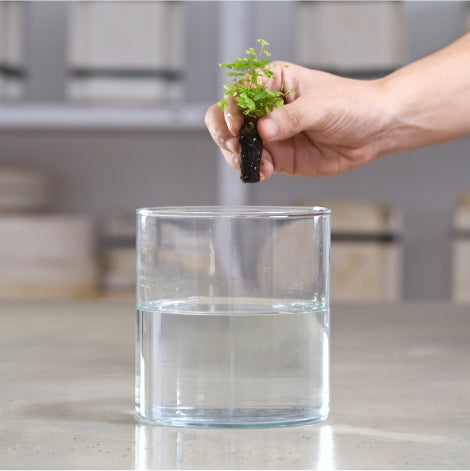
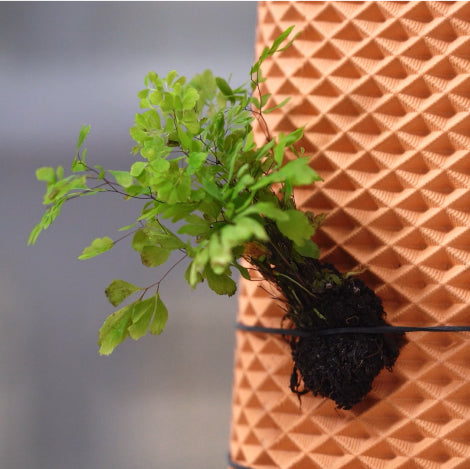
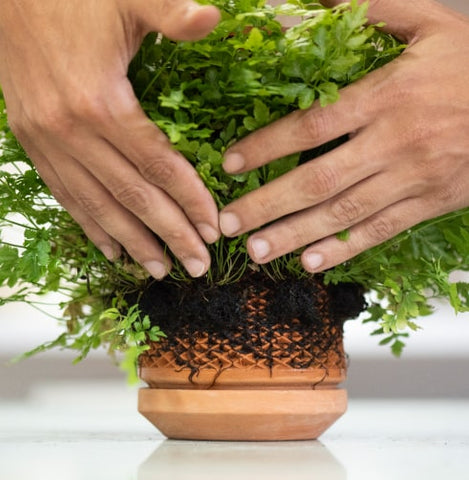
This process starts by gently separate the soil from the plug being careful not to damage the root system. Then simply mount the plug to the Tevaplanter surface with a rubber band - making sure the roots are secured and touching the surface. The young plant plug may be in a state of shock at first, but with time, water and care the plant will overcome and get used to it's new home.
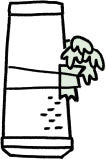
HOW IT WORKS
01
02
03
04
05

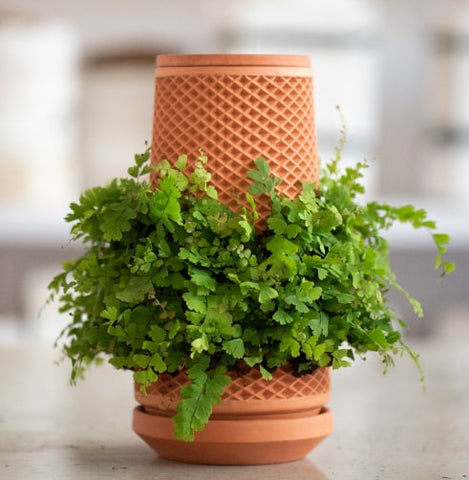
Key to success!
Arrange the fern plugs on the lower 'wetter' section of the tevaplanter. Over time, the plugs will grow upwards, covering the tevaplanter.
